Those of us that have been teaching for a number of years usually have resources that are our favorites. Resources that have stood the test of time as they say. So, what happens when those same teachers are encouraged to go digital, but the resources they want to use are on paper? Don’t worry, help is on the way. Today, I am going to show you how easy it is to take a paper resource and turn it into a effective digital resource.
I am going to work with a lesson from my RED (Review Everyday Series) for math. Now, to be truthful, this resource is PDF file, however, when I created this series, I designed it to be copied using a minimal amount of paper.

When printed as shown, four lessons are included on each page (front/back). The teacher cuts each sheet on the dotted line and a half sheet is used for each review lesson.
But what happens when you want to send a single lesson to a student’s iPad to be completed using an annotation app and submitted to the teacher electronically? It is literally as simple as, cut, scan, send.
So how about we take a closer look…
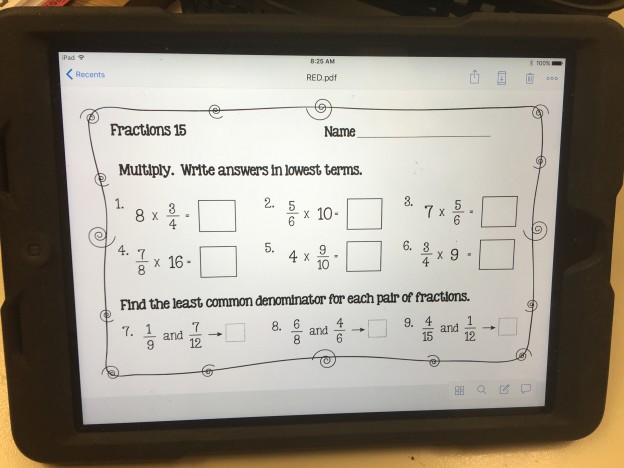
First, cut the page so only one lesson is showing.

Next, using a scanner app, scan the paper resource. I prefer to use an app called Scannable. It is free and it does what I need it to do.

After opening the scanner app, aim your phone or iPad at the paper resource and the app will do the work. The scanned resource will appear in the bottom left-hand corner of your screen.


Select the document from the screen to see the scanned resource. From this screen you can perform several editing options.

By defult your image is saved as a picture. I have found that changing this to a PDF before saving is necessary in order for the resource to be compatible with most annotation apps such as Notability.


After selecting PDF, there are two options. The PDF can be shared or mailed. Since I place the link to the PDF on my Canvas page so my students access, I mail the PDF to myself. I guess you could say I am a bit ‘old-fashioned’…I like working from my laptop and not my iPad. Some might think mailing it to myself is just an extra step. I, however, argue that once that PDF is scanned, sent and opened I am able to store it with ease electronically. And, if I am organized…which is kind of my specialty…it will never have to be scanned again…ever!


From this point there is a variety of ways I can use this resource. I can have my students open in on iPads. I can project it on my Smartboard and have my students record their answers on paper. I can model for my class how to solve the various problems.


Once you have converted your favorite paper resource to a digital resource, the possibilities of what you can do are endless. Have a great idea? Please share in the comments. I would love to hear your thoughts and ideas.
And, as always…
Wishing you the very BEST!
Mrs. B